WhatsApp Channel Configuration
Configure your LiveTok AI Agent to engage customers on WhatsApp, the world’s most popular messaging platform with over 2 billion users.
Overview
WhatsApp offers the highest engagement rate of any messaging channel, with a 98% open rate compared to 20% for email. Your customers are already using WhatsApp daily, making it the perfect channel for business communication.
Prerequisites
Before configuring WhatsApp, ensure you have:
- An active LiveTok account
- A dedicated phone number for WhatsApp Business
- A Facebook Business Manager account (or ability to create one)
- Business verification documents (may be required by Meta)
Initial Setup
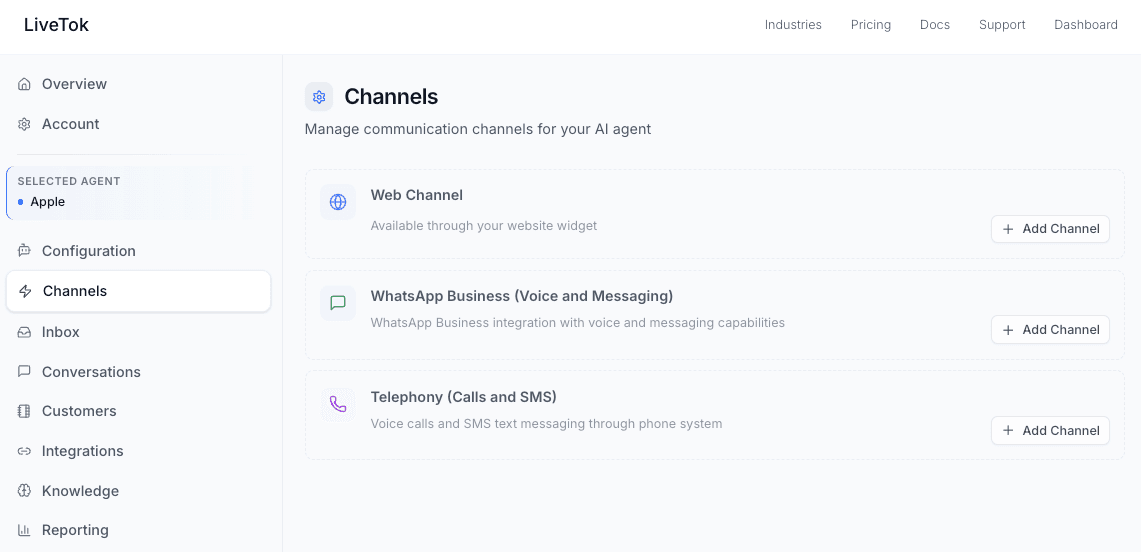
Step 1: Access Channel Settings
- Log in to your LiveTok dashboard
- Navigate to Channels in the sidebar
- Click Add Channel or Configure if already added
- Select WhatsApp
Step 2: Connect WhatsApp Business Account
Choose your connection method:
Option A: Use Existing WhatsApp Business Account
- Click Connect Existing Account
- Log in with Facebook Business Manager credentials
- Select your WhatsApp Business Account
- Choose the phone number to connect
- Authorize LiveTok access
- Complete the connection
Option B: Create New WhatsApp Business Account
- Click Create New Account
- Provide business information:
- Business name
- Business category
- Business description
- Phone number
- Business address
- Verify phone number via SMS
- Complete Meta Business verification
- Wait for approval (typically 24-48 hours)
[Screenshot placeholder: WhatsApp account connection]
Step 3: Verify Phone Number
- Enter your dedicated phone number
- Choose verification method:
- SMS verification
- Voice call verification
- Enter the 6-digit code received
- Confirm verification
Next Steps
- Configure Telephony Channel
- Set Up Web Widget
- Add Calendar Integration
- Connect CRM
- Build Knowledge Base
Support
Need help with WhatsApp configuration?
- Contact support at support@livetok.ai
- Check Developer Documentation
- Review API Reference